Attention:
1. Please make sure there is no dust or dirt on the fabric surface before rolling it back to the casing
2. The recommened working time is less than 50 seconds. The motor will enter over heating protection status and stop working for every continuous 4 Minutes operation. user would need to wait for a while until the motor cool down before operation again.
3. There is no lube needed for the motor. Plesae be noticed that the appropriate setting is optimized Which requires no further adjustment. please consult the after sale team before adjusting the limits.
How to adjust tension situation of the string:
If the string is loose which is caused by bump on transporation or faulty operation. Please rotate the string Adjustment Knob clockwisely to make string is over tensional, please press the string Releasing button and rotate the String Adjustment Knob counter-clockwisely to suitable tensional situation.
Floating Bracket Installation:
1. choose screws for mounting according to wall material(Tips: wood screws for wood wall and Tapping Screws for concrete wall).
2. Mount the Brackets onto the wall, assuring they are at the horizontal level.(Tips:draw an erasable level line when mounting the brackets).
Installation Steps:
a) Wood wall and ceiling installation: Drill in the 5 x 40 screws through the appropriate holes in the bracket.
b) Dry wall and ceiling installation : install the anchors and drill in the 5 X 40 screws into the appropriate bracket holes.
c) Loose the Fixing screw to lower down the block all the way.
d) When the mounting the screen onto Floating wall brackets, make sure the up grove on the housing match with the Up button and the Down button on the bracket seperately.
e) Fasten the Fixing Screw on the Bracket, to fix housing tightly onto the brackets.
Ceiling hang installation:
To choose the tapping screws with hanger or other screws with hanger(unprovided) according to ceiling material.
(Tips: Wood Screws 5 X40 for wood ceiling and tapping screws for concrete wall).
1. To Drill same wholes with an electric drill horizontally with wall, then fasten hangers(unprovided) onto the ceiling.
2. Use M5 x 10 screws in the accessory package to fix the ceiling hanger into wall bracket, make sure the tightening screws on the wall bracket are fixed tightely.
3. After fix the ceiling hanger, make sure the up groove and the down groove on the housing match with up button and down button on the bracket seperately and fasten the fixing screw on the bracket, to fix housing tightly onto the brackets.
4. After finish step 2 and 3, check whether wall bracket fix on the housing of screen tightly then you can hang the screen.
Warnings:
Take out all the parts from the packeging and follow the accessagires guideline to ensure you have all parts. There are three installation measures for this product, namely wallmounting, ceiling mounting and ceiling hang. the installed distance can be changeable up to your needs via adjusting the slipper block, while the ideal position is the mounting bracket is at its nearest point to the endcap, which can reduce unnecessary vibration or noise.
| Brand |
Liberty Grandview
|
| Screen Size |
72 inches
|
| Ratio |
4:3
|
| Type |
IP Control
|
| Fabric |
GG3
|
 Liberty Grandview TabTension Motorised Cyber Series pdf Liberty Grandview TabTension Motorised Cyber Series pdf |
|
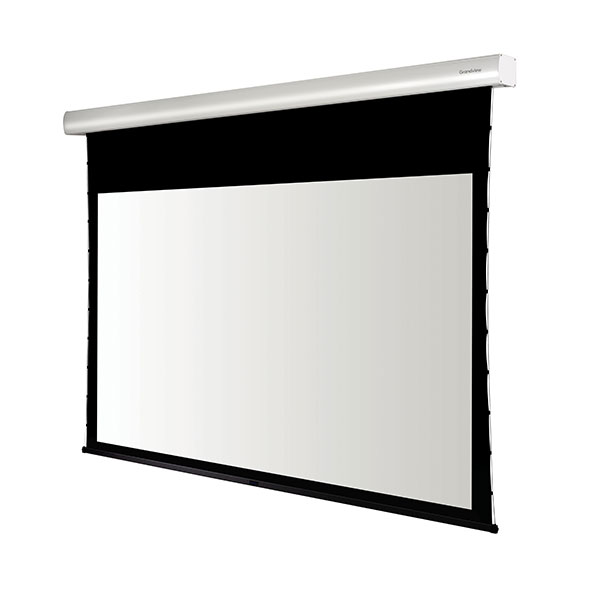
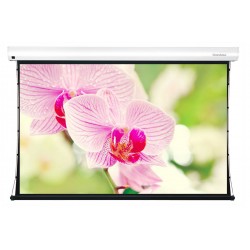
Product Brief Description
- Size: 72" (4:3)
- Installation Options: Floating Wall Mount / Ceiling Mount / Suspended Mount (Using the "L bracket")
- Control Options: IR. / RF. / RS485 + Dry Contact Control / 3-12 Voltage Trigger Control / Central Control / IP Control
- Tension Adjustment Mechanism
- Colour: White
- Aluminum Casing
Warranty: One year from the date of dispatch, strictly against any manufacturing defects only.

 Click Here
